
In this article, we will dive into the world of light painting, exploring its techniques, gear requirements, and the endless creative possibilities it offers. So grab your camera, let’s uncover the enchanting world of light painting!
What is Light Painting?
Light painting is a photographic technique that involves capturing long-exposure photographs while illuminating specific subjects or areas with handheld light sources. By using various light-emitting tools, photographers can “”paint”” with light to create mesmerizing and dreamlike visuals. The technique allows for complete control over lighting, resulting in stunning and surreal images.
The Technique
Light painting may seem complex, but with practice, anyone can master it. Here’s a step-by-step guide to help you get started:
- Set up your camera on a tripod and choose a suitable subject or scene.
- Switch your camera to manual mode and select a long exposure setting. Typically, exposures between 15-30 seconds work well, but feel free to experiment.
- Darken the room or shoot during nighttime to prevent unwanted ambient light from spoiling your shot.
- Press the shutter button and use a light source (e.g., flashlight or LED wand) to paint or illuminate specific areas of the frame. Remember to move the light source smoothly and evenly for best results.
- Review the image on your camera’s screen and make adjustments if necessary. Repeat the process until you achieve your desired result.
Essential Gear for Light Painting
To embark on your light painting journey, you will need some essential gear:
- Camera: A DSLR or mirrorless camera with manual settings will provide you with the flexibility and control required for light painting.
- Tripod: A sturdy tripod is essential to keep your camera steady during long exposures.
- Light Sources: Flashlights, LED wands, or even small LED lights can be used as light sources. Experiment with different colors and intensities to achieve unique effects.
- Remote Shutter Release: This accessory allows you to trigger the camera without physically touching it, minimizing the risk of camera shake during long exposures.
- Gels and Diffusers: Gels can be placed in front of your light sources to add color and create a more dynamic scene. Diffusers help soften the light, resulting in smoother and more even illumination.
Unlocking Creative Possibilities
Light painting opens up a world of endless creative possibilities. Here are a few ways you can experiment with this technique:
- Writing and Drawing: Use your light source to “”write”” words or draw shapes in mid-air. This technique can add a sense of mystery and intrigue to your images.
- Light Trails: Move your light source through the frame to create light trails. This technique works particularly well in urban or natural landscapes, adding a dynamic element to the scene.
- Orbs and Spirals: By rotating a light source in circular or spiral motions, you can create ethereal orbs or mesmerizing patterns.
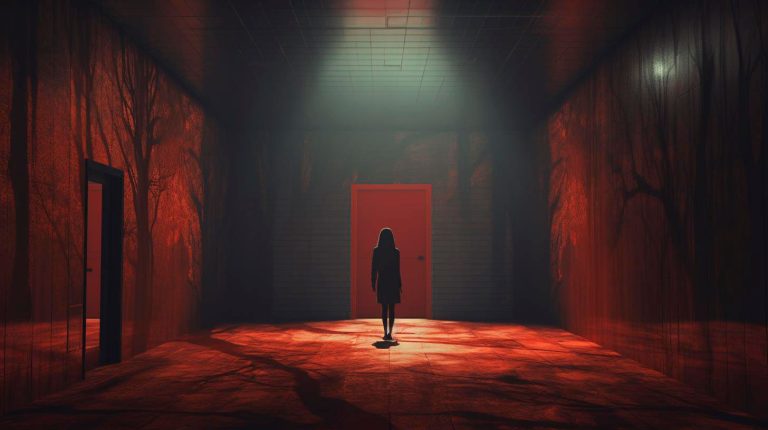
- Highlighting Subjects: Use a focused light source to highlight specific subjects within the frame, creating a dramatic and focused effect.
The Impact of Light Painting
Light painting not only allows photographers to create visually stunning images, but it also has practical applications in various industries. Here are a few examples:
- Product Photography: By strategically illuminating products, photographers can enhance their appearance and create captivating marketing materials.
- Astrophotography: Light painting can be used to illuminate foreground elements in astrophotography, adding depth and interest to the night sky.
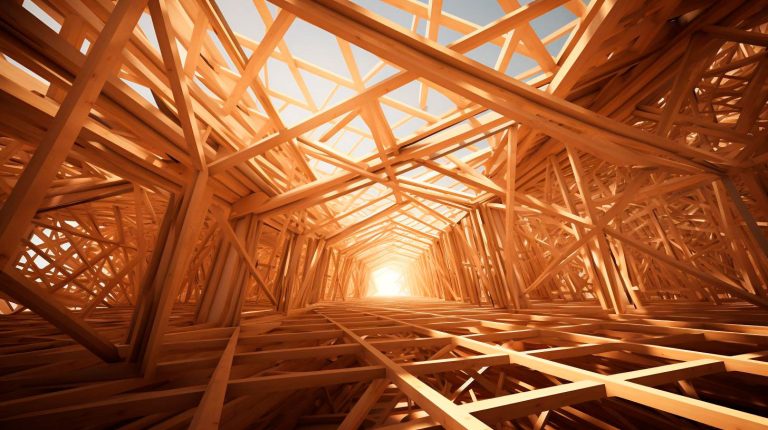
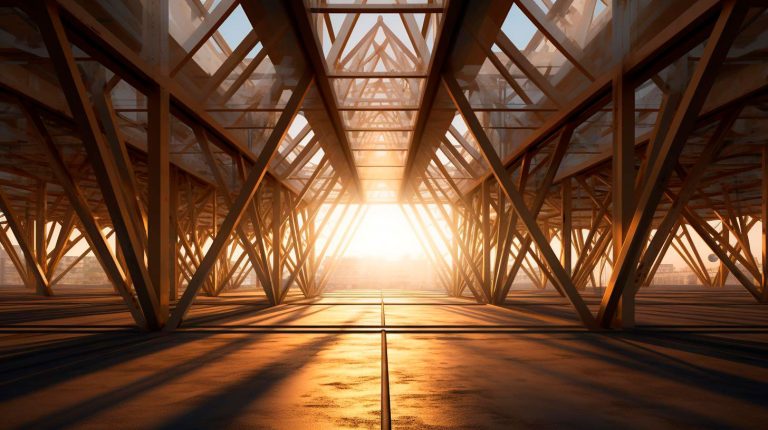
- Architectural Photography: Highlighting specific architectural details with light can add an artistic touch to architectural photographs.
Inspire and Be Inspired
As technology progresses, photographers continue to push the boundaries of light painting, creating awe-inspiring and innovative images. Here are some key takeaways from this article:
- Light painting allows photographers to create surreal and magical images by manipulating light.
- The technique involves using handheld light sources during long exposures.
- Essential gear includes a camera with manual settings, a tripod, light sources, a remote shutter release, and gels/diffusers.
- Creative possibilities include writing and drawing with light, capturing light trails, creating orbs, spirals, and emphasizing specific subjects.
- Light painting has practical applications in product photography, astrophotography, and architectural photography.
With these insights, you are now equipped to embark on your own light painting journey. So, grab your camera, unleash your creativity, and make some magical moments with light!


+ There are no comments
Add yours